Planner Step Two: The Plan As a Whole
Step Two is the heart of the planning process, where you truly make the plan “your own.” As such, this sundaysandseasons.com page is rich in functionality, and taking the time to learn everything it can do is well worth the effort. We’ve divided it into four help pages. This one covers tools that affect your plan as a whole. The others show you how to customize individual service elements, add new elements to your plan, and edit your plan in both sundaysandseasons.com and the Prelude Music Planner.
Plan Title
![]()
To change the title of a plan, click the pencil icon to its right.

Change the title and click the checkmark. You may notice a brief flash of green; this is a signal that your change has been saved.
![]()
The new title is now in place, but can be changed again at any time.
Plan Link

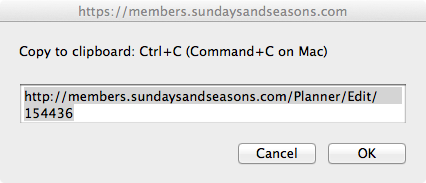
Click the chain link icon to the right of the plan title to create a link to your plan. You can use this link to access your plan more quickly than navigating through the Planner Calendar or list of future plans on the Home page. You can also send this link to other users of your subscription, so they can do the same.
Basic Plan Information
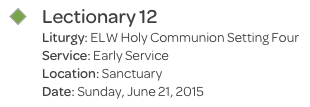
Just beneath the plan title is a list of basic information about your plan. There will always be lines for the base liturgy and plan date. If you’re planning a special service, there won’t be a lectionary event name (but the seasonal color diamond will be there). If you don’t select a service and/or location from their respective drop down menus when choosing a basic service type, those lines won’t appear.
Navigation Buttons
![]()
The “Start Over” button will take you to the view of the Planner Calendar you selected in the My Account area (if you haven’t made a selection, you’ll see the Month View by default). The plan you just left will be saved, and you’ll be able to start a brand new one.
The “Continue” button will take you to Step Three of the planning process, where you can review and download your plan, along with several other resources.

It’s possible to create and download an entire plan without ever needing to click the “Save” button, because every time you change your plan, it’s automatically saved.
Use the “Save” button to save your plan as a template or change the service and/or location in the plan’s basic informtion. You can change the title here as well, although it’s easier to do so at the top of the plan by clicking the pencil icon next to the title.
To help reduce the amount of scrolling you have to do, these buttons also appear at the bottom of the page.
Worship Plan Notes
![]()
The Worship Plan Notes area, just under the navigation buttons, offers a place to keep any information about your plan that isn’t actual worship content. Just click the blue triangle and enter your notes.


If you need more space, click and hold on the diagonal lines in the lower right corner, and drag down until the box is as big as you’d like. Once you’re done, just click anywhere outside the box and your notes will be saved; you may notice a brief green flash that signals this.

You can close the notes if you’d like—just click the blue triangle again—or leave them open. Either way, if you go to another page for a while, or even log out, when you come back to the plan, the notes will be open, just to remind you that they’re there.
Supplementary Content

Check the boxes next to each piece of supplementary content you’d like to include in your download.
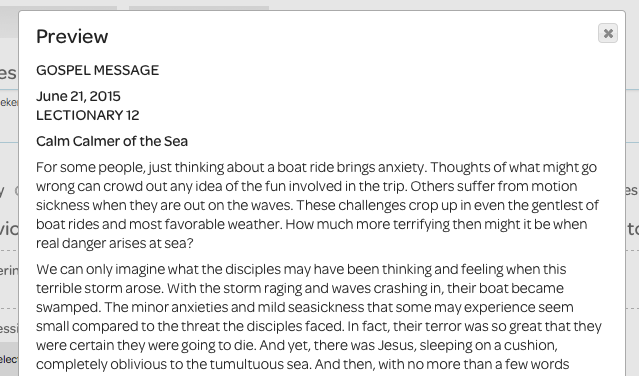
To preview an item, just click on the magnifying glass icon next to its title. (There’s no magnifying glass icon next to Worship Plan Notes, because they’re readily available in the box above.) To make the preview disappear, click the X in the upper right or anywhere outside the overlay.
Planner Step Two: Customizing Service Elements
Planner Step Two: Adding New Elements
Planner Step Two: The Prelude Music Planner
Next: Planner Step Three: Review and Download Files